Events module
Features
- Events management (exhibitions, fairs, etc.).
- Assignment of works to an event.
- Printing of price lists and labels.
- Printing of lists with insured values.
- Printing of labels and condition reports.
General information
Add works
Each work can be assigned to several events at a time:
- Display Events.
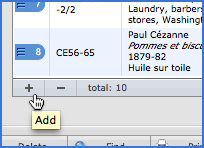
- Click the button
 Add (see figure 1 below). This action will display a pop-up window with the list of works.
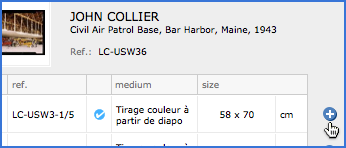
 - Find the desired work to add it to the current event and click the button
 (see figure 2 below).
 - If you want to assign to an event several works at once, active the module Works, click the List tab, perform a search or check the works you want, and choose Add Selected to Event or Add Found Set to Event from the drop-down menu Choose Action
 . If a work contains multiple copies, you must choose the reference of the copy in the dialog box that will follow after.
 - The description of the work can be changed directly on the description field.
- By clicking Description (see image 3 below) and then the Options button in the following dialog box, you can change the description of works by choosing the items you need (Artist, Subtitle, Series , Technique, Size, Price, Availability, Category and Reference).
- Zoom on the table of works by clicking the Increase window
 button to display information such as the value of insurance, framing, etc..
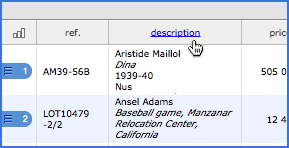
Sort the works
The works added can be sorted either manually by moving the blue handle that frames the serial number, or by clicking the Sort ![]() button (see figure 3 above).
button (see figure 3 above).
IMPORTANT: While it is possible to sort the works by dragging and dropping, this method can be inaccurate if used too often or if the number of selected works is very important.
Show additional information
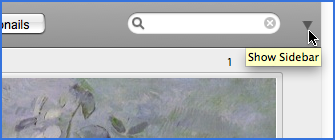
The Events module, like Invoices and Works, has a lateral area containing additional information about the event. To deploy the sidebar, click on the blue bar equipped with an arrow (see figure below).
Manage crates
If the works of an event are destined to ship, creating crates lists can be useful if you need to provide detailed reports.
Deploy the sidebar, click on the tab Crates to add or delete crates. To add works to crates previously created, expand the Crates tab by clicking the Increase window button![]() (see image below).
(see image below).

In the Crates window, each work has at its right the menu Choose action![]() which offers a list of crates already registered. After choosing a crate, refresh the window by clicking outside the menu.
which offers a list of crates already registered. After choosing a crate, refresh the window by clicking outside the menu.
Printing
If there is text in the Text field, it will be printed on the top of the works list. The length of this text should not exceed three A4 pages; otherwise it will be cropped in print. This text can be formatted: click the Increase window ![]() button below the text field to display it in a separate window and display the text bar via View -> Text Bar.
button below the text field to display it in a separate window and display the text bar via View -> Text Bar.
Customizable print templates
This module can have a theoretically infinite number of print templates. See the Printing chapter for more details.